White Balance – the Unsung Hero in Dental Photography
By Dawn Wehking on August 23, 2019 |
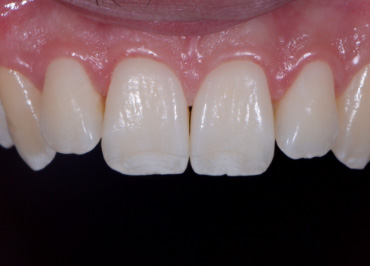
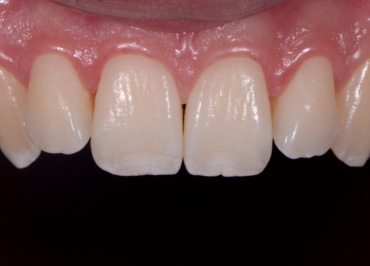
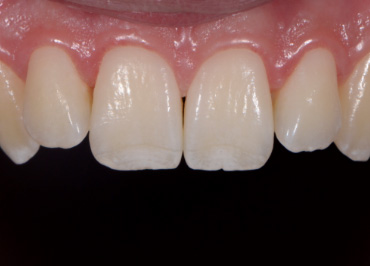
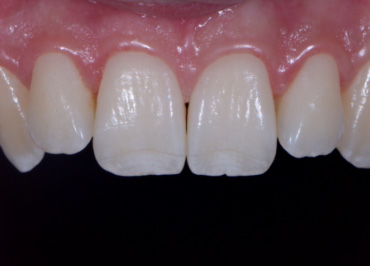
Teeth are white. But sometimes they're yellow, sometimes they have brown lines, and sometimes they are grey. Usually they're not blue.
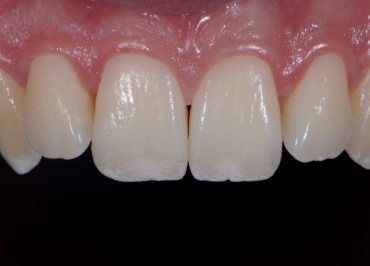
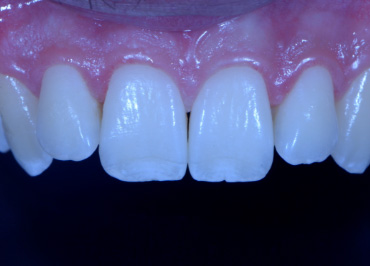
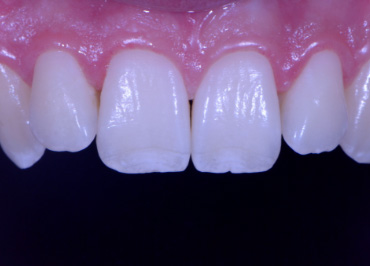
So why do they look blue in your photographs? And why do your before and after photos look so different even though you used the same camera and flash?
White balance is something we don't hear a lot about in beginner dental photography, but it may be one of the most important factors in accurately representing what we are trying to show off.
After learning the basics (aperture, shutter speed and ISO), your next step is to master white balance. The best part? It's super easy!
White balance in a nutshell
The color of your final photograph is affected by your lighting conditions. All light sources (bright daylight vs. fluorescent bulbs vs. LED lights) are not pure white light.
Different light sources have different color temperatures that cast a color over your image. These different color temperatures can make your photographs look blue, orange, or even green. Setting the white balance helps your camera understand what neutral white is and remove those unrealistic color casts.
Most digital cameras have pre-set white balances to allow for a range of color temperatures. These pre-sets are used to tell the camera what kind of light you're using so that the camera can adjust accordingly. In most non-dental photography, auto white balance is sufficient. In clinical dental photography, we want to do better.
The mouth contains a lot of red/magenta due to the gingiva. If set on auto white balance, the camera will compensate for these colors and mistake them for a color cast induced by a warm light. This compensation is what makes teeth appear blue or even more white than they are in real life.
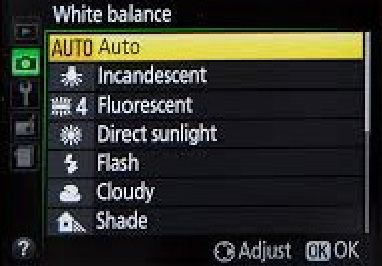

Setting a custom white balance
Whether we are communicating with our lab or showing off our excellent dentistry, we want to make sure we're spot-on.
Setting a custom white balance allows you to accurately communicate what the teeth look like in real life, so teeth look like teeth, and not orange, blue, or green.
In order to do this, you need to tell the camera what is white instead of letting it guess. Take a photo of a white balance card (you can buy a Whibal card on Amazon or from any camera supply store). This defines the color temperature and tells the camera to calibrate the rest of your photos based on what you are saying is true/neutral white in the present environment.
You will need to reset the white balance whenever you change your environment or lighting. I saved my custom white balance under my camera's pre-set. Because the lighting throughout my office is pretty uniform and I always use the same flash set-up, this is consistent and doesn't change.
Unfortunately, every camera is different so I can't actually tell you how to do it for your camera. Hop on YouTube and search “custom white balance for (insert your camera and model here).”
Congratulations! You're one step closer to excellent clinical photography. Have fun!


Dawn Wehking, D.D.S., M.A.G.D., is a member of Spear Visiting Faculty and a contributor to Spear Digest.
Free Dental Photography Lesson
Digital photography is the single most powerful tool the dental team has at its disposal to help patients choose a higher level of care. Click the button below to start watching "The Power of Dental Photography" for free.
WATCH NOW