How To Root Bank
Root banking is not a very common procedure when treating patients who’ve lost an anterior tooth. However, it’s an excellent treatment option for esthetically concerned patients with a biologically healthy root and no periodontal problems. Below are a few steps to help guide you through a successful root-banking procedure.

Step 1: Fill canal with resin-modified glass ionomer cement
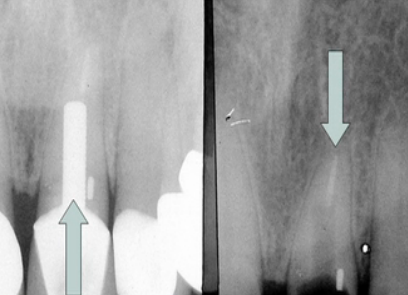
You’ll need to clean up where the post was located and make sure the area is free of caries before filling the endodontic portion with the glass ionomer cement.
Step 2: Reduce tooth structure
With a bur, prep the tooth until it’s 0.5 mm below the bone. It may be helpful to probe to the bone and look at where the tooth is positioned relative to the bone. You can then prep the inside of the tooth and thin the walls out, allowing you to chip away parts of the tooth as opposed to grinding down the teeth and gingiva.
Step 3: Make a provisional
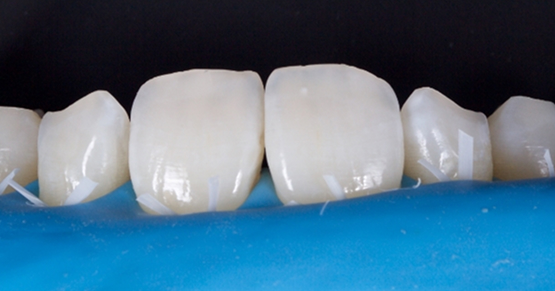
The provisional needs to have the contours and the emergence profile interproximally. Leaving 2 mm of space between the pontic and the remaining root is critical to maintaining optimal tissue health and esthetics.
The great thing about this uncommon procedure is that you and your patient won’t ever have to worry about the tissue migrating. Because there’s still a root maintaining the bone, that tissue isn’t going anywhere.
SPEAR campus
Hands-On Learning in Spear Workshops
With enhanced safety and sterilization measures in place, the Spear Campus is now reopened for hands-on clinical CE workshops. As you consider a trip to Scottsdale, please visit our campus page for more details, including information on instructors, CE curricula and dates that will work for your schedule.

By: Mark Fleming
Date: August 24, 2012
Featured Digest articles
Insights and advice from Spear Faculty and industry experts


