Closing the Class 2 Restoration Box, Part 2: Management of Direct Resin
In the first article in this series, we looked at common problems that can arise in Class II restorations. In this article, let’s look at an approach to placing direct resin restorations that is time-efficient and, in my experience, does not result in voids, overhangs, or defective margins.
Class II restorations: Matrixing and wedging
For most Class II restoration cases, I employ a sectional, rather than circumferential, matrix band. The exception to this is a case when the proximal contact has not been broken. In these cases, it’s challenging to place a sectional band because it is thin and deforms easily, so a circumferential band is employed.
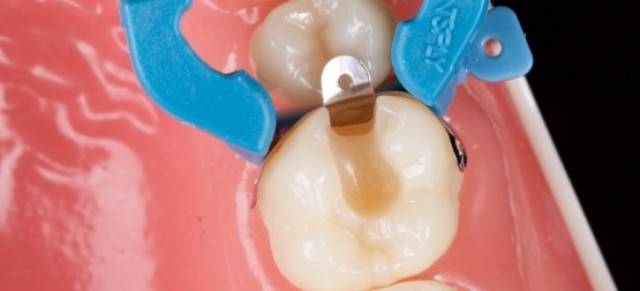
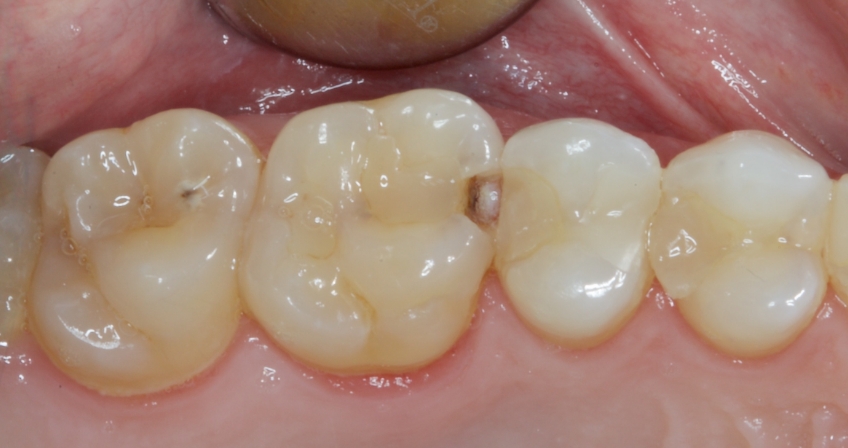
Consider the process in the following clinical case: Pretreatment, the patient presented with an MO cavity of 2.6. Defective restorations were also noted at 2.7, 2.5, and 2.4. but the patient declined treatment of these teeth.
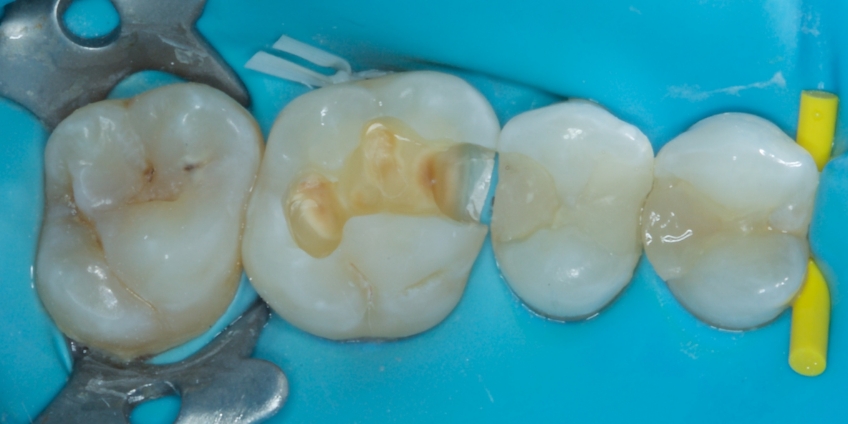
The upper left quadrant was isolated with rubber dam and the existing restoration/caries removed. The margins were finished with a carbide bur and particle abrasion with 27-micron alumina at 2–3 bar performed.
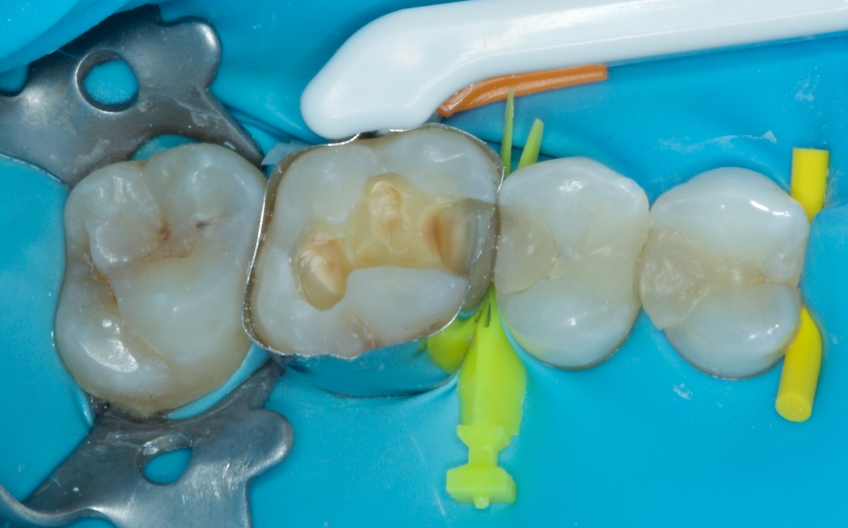
The cavity was matrixed with a disposable circumferential band (ProMatrix, Young Innovations) and wedge (Versawedge, Burton Bands).
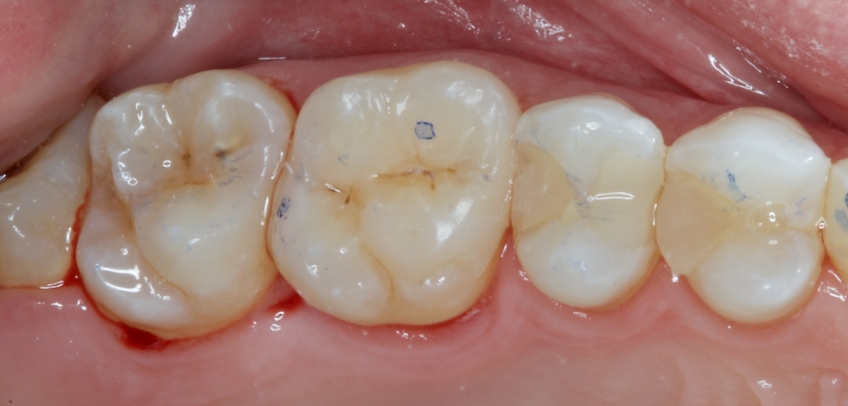
The restoration was completed with flowable bulk fill in the proximal box (SDR, Dentsply) and paste bulk fill (Ecosite Bulk Fill DMG).

Final polishing was completed with discs (3M Sof-Lex) and silicone points (Venusâ Supra, Kulzer) and the occlusion checked.
If the contact is broken, a sectional matrix system is preferred because it confers numerous advantages:
- The shorter band offers more precise control of the band tension and, in combination with a separating ring, firmer proximal contacts.1
- Sectional bands have more anatomical contour and a more favorable emergence profile, resulting in fewer black interproximal black triangles and reduced food impaction.
- The sectional band is simpler to remove partway through the procedure when the proximal box is completed, allowing improved access for a Class II restoration of the occlusal portion.
The band is initially placed and centered on the tooth.
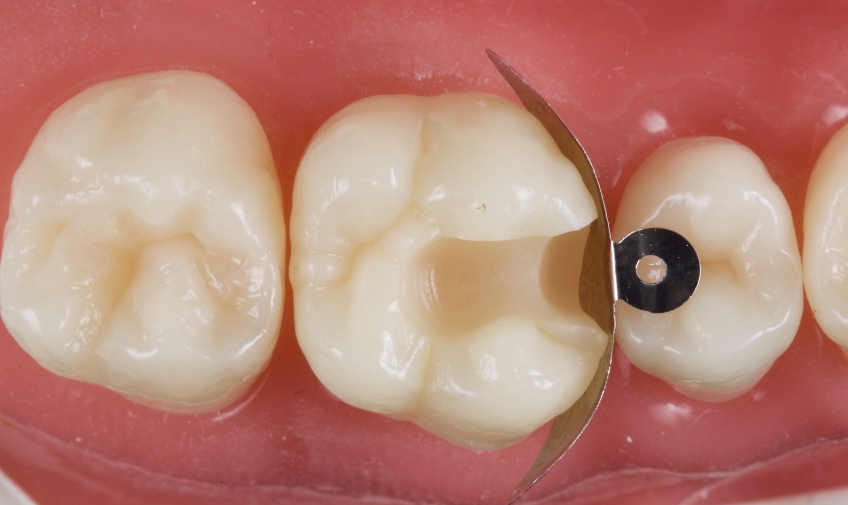
A band should be selected that extends at the occlusal table to the same height as the intact marginal ridge of the adjacent tooth.

Next, the wedge is placed.
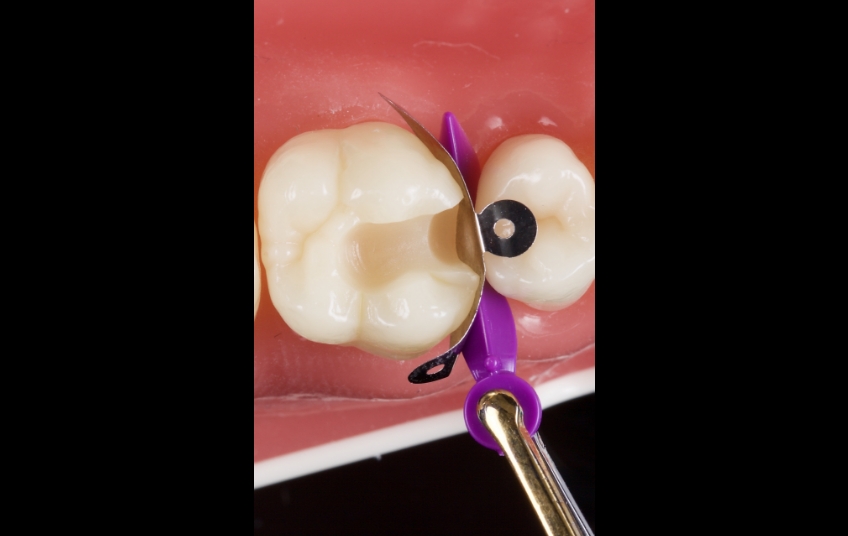
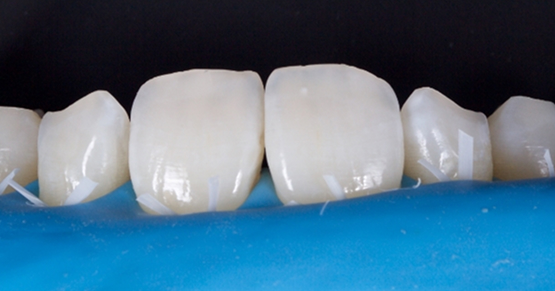
Wedging should completely close the gingival margin. If the gingival margin is not closed, the wedge should be removed and the interproximal packed with PTFE tape. I find a Williams periodontal probe to be the most efficient instrument to perform this task.
A separating ring is now selected and placed. It is important that the four tines of the ring engage surfaces of the tooth to be restored and the adjacent tooth so separation occurs.

If a gap remains between the axial margin and the matrix …

… this can be closed by packing PTFE tape between the band and the ring.
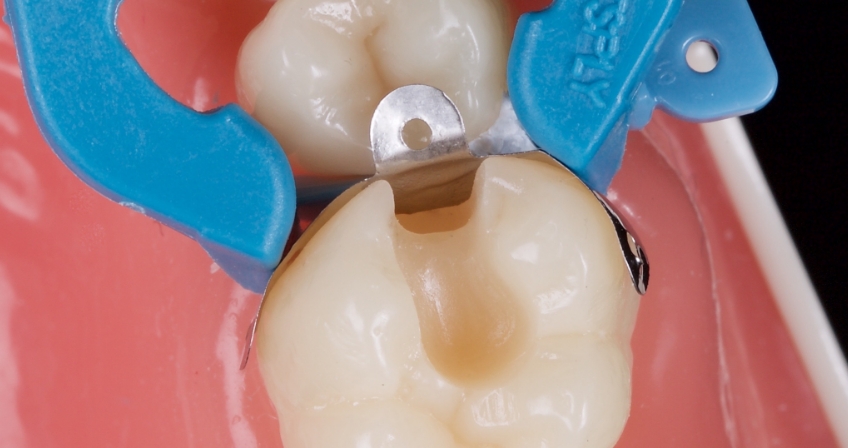
Investing time to achieve perfect band adaptation results in critical time savings during finishing.
Restoring the Class II restoration proximal box
Traditionally, the management of stress within the Class II restoration box has involved incremental placement of vertical layers, horizontal increments, or small triangles (< 2mm) of composite resin into the box, each being polymerized before placing the subsequent increment.
While various studies have demonstrated good success for this approach,2,3 these techniques present at least two significant challenges. First, the strategy is extremely time-consuming, making it inefficient —particularly in an insurance-based office. Secondly, I have noted a tendency toward void formation between increments, even when high magnification (an operating microscope) is employed.
The approach I have outlined here employs the centripetal technique,4 whereby after bonding, the proximal box is built, converting the Class II into a Class I restoration. The Class I portion is then restored on a cusp-by-cusp basis.
The proximal box is divided into two portions, or increments: a gingival portion from the gingival margin to the level of the occlusal isthmus, and an occlusal portion from the gingival portion to the maximum height of the marginal ridge.
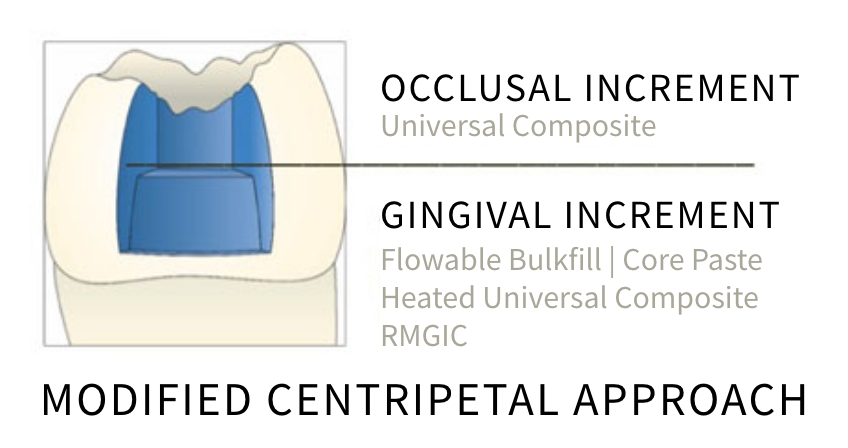
The strategies employed in the centripetal approach will be the focus of the final article in this three-part series about Class II restorations.
References
- Bichacho, Nitzan. “The centripetal build-up for composite resin posterior restorations.” Pract Periodontics Aesthet Dent 6.3 (1994): 17-23.
- Loomans, B. A. C., et al. “A randomized clinical trial on proximal contacts of posterior composites.” Journal of Dentistry 34.4 (2006): 292-297.
- Tjan, Anthony HL, Brian H. Bergh, and Carla Lidner. “Effect of various incremental techniques on the marginal adaptation of Class II composite resin restorations.” The Journal of Prosthetic Dentistry 67.1 (1992): 62-66.
- Donly, Kevin J., and M. E. Jensen. “Posterior composite polymerization shrinkage in primary teeth: An in vitro comparison of three techniques.” Pediatr Dent 8.3 (1986): 209-12.
SPEAR campus
Hands-On Learning in Spear Workshops
With enhanced safety and sterilization measures in place, the Spear Campus is now reopened for hands-on clinical CE workshops. As you consider a trip to Scottsdale, please visit our campus page for more details, including information on instructors, CE curricula and dates that will work for your schedule.

By: Jason Smithson
Date: February 28, 2023
Featured Digest articles
Insights and advice from Spear Faculty and industry experts
