A Conservative, Effective Approach to White Spot Lesions
One of the most useful articles I’ve put into practice from Spear Digest is Dr. Andy Cohen’s on reduction of white spot lesions using MI paste. To date, it’s been the most effective treatment modality I’ve had for dealing with fluorosis stains, white spot lesions, and decalcified spots.
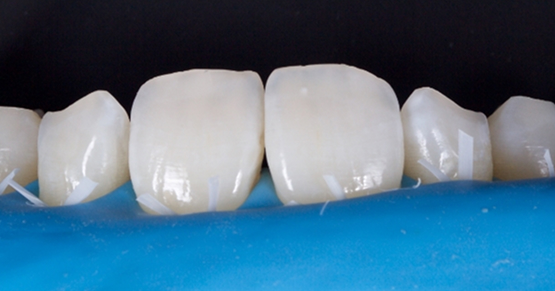
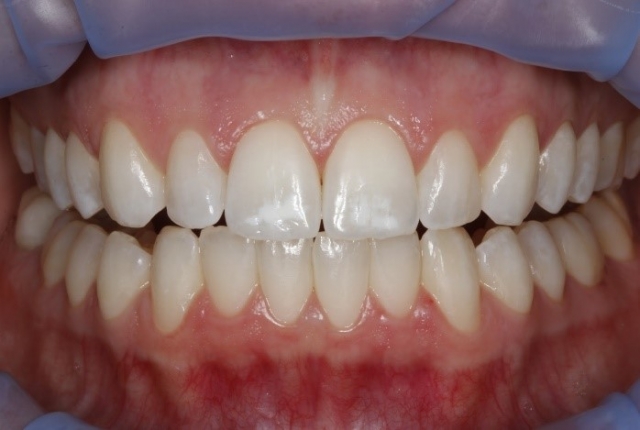
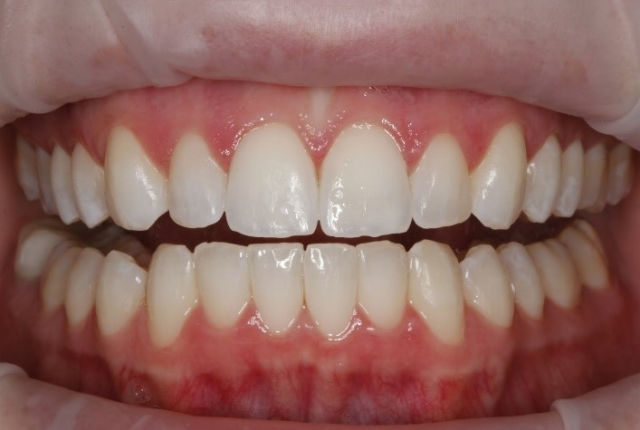
Recently, I started implementing DMG’s ICON treatment, a resin infiltration that “fills in” the decalcified areas leading to the white spots. I haven’t been this excited about an easy procedure with impressive results in a long time. It uses infiltration technology to treat smooth surface and proximal carious lesions, and I recently used it on my dental assistant”s white spot lesions on #8 and #9 with impressive results.
This product has been around for a while, so I was surprised I hadn’t heard of it sooner. I came across it via Instagram and contacted my DMG rep. I’ll walk you through the protocol and show you an example of the impressive results I achieved on my assistant.
Use either a latex rubber dam (if the lesions are close to the gingiva, as is the case with many postorthodontic lesions) or an Optragate. Do not use a non-latex dam. If you place an Optragate, you can use a liquid rubber dam and light-cure if needed to protect the tissue.
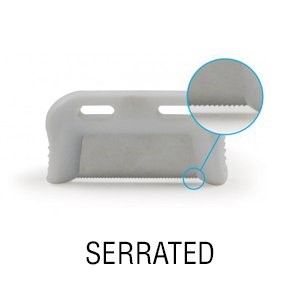
To prepare the surfaces for infiltration, micro-air-abrade the surface of the lesions or polish with a disk. Use pumice to clean the lesions to be treated.
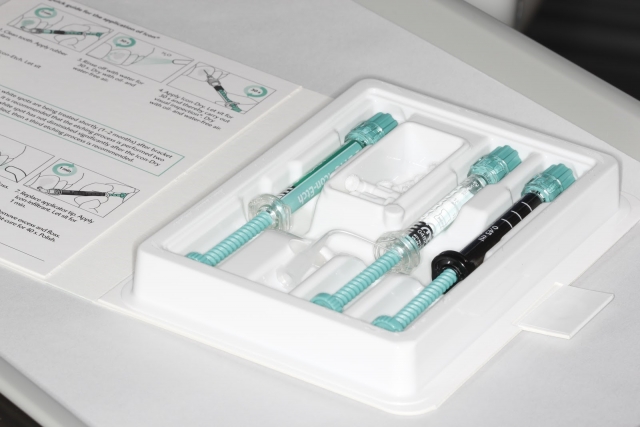
You’ll then use the 15% HCL etchant that comes in the ICON kit for a two-minute etch. With fluorosis stains, you can etch up to 3 minutes. This seems like a lot, but you haven’t drilled into the teeth so you’re in enamel and in a safe zone for extended etching.
Rinse for a full 30 seconds, then dry thoroughly. Repeat these steps: Disk or air-abrade, etch, rinse and dry. After the second etch, the teeth should be very chalky.
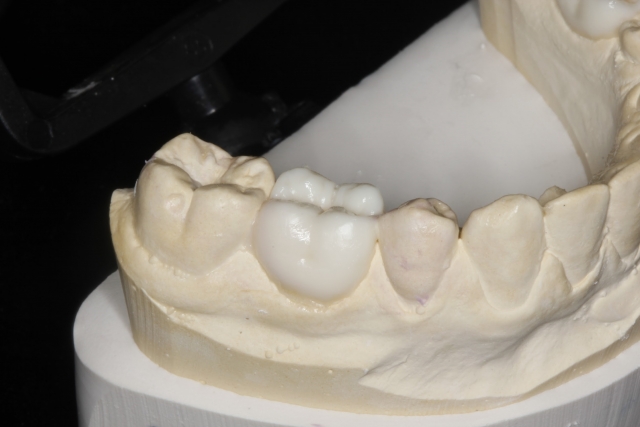
You’ll then place ethanol on the lesions, (Icon dry in the kit), which gives you a “preview” of the final result. If you have good esthetics with the Icon dry, you’re good to go with the infiltration. If there isn’t a change, or you see a suboptimal change, you haven’t accessed the lesion and you need to etch again.
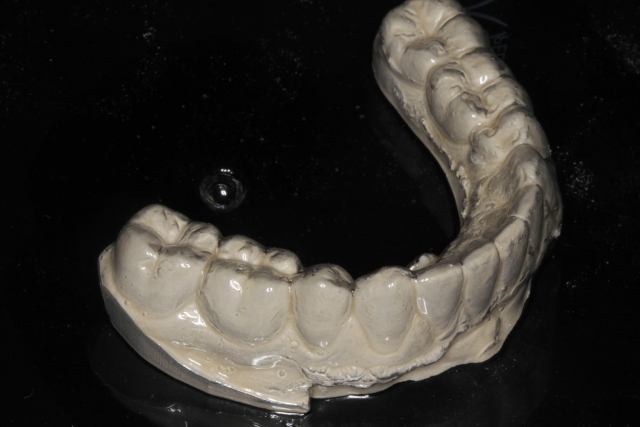
After you’ve placed the Icon dry, if you’re proceeding with the infiltration, dry the area, then use the infiltration resin in the kit to wet the area for a three-minute infiltration. If during those three minutes the resin is no longer visible and shiny, add additional resin. The resin is being absorbed during this time and you may need to apply it additional times, especially for larger lesions.
After three minutes have passed, remove the excess with cotton pellets and light-cure for 40 seconds per tooth.
After resin infiltration is completed, floss the proximal contacts to remove any flash.
Before wetting the teeth, do an additional minute of resin infiltration. This is your “insurance policy” to be sure that your initial infiltration fills all of the micropores in the tooth. You’ll then need an additional 40-second cure.
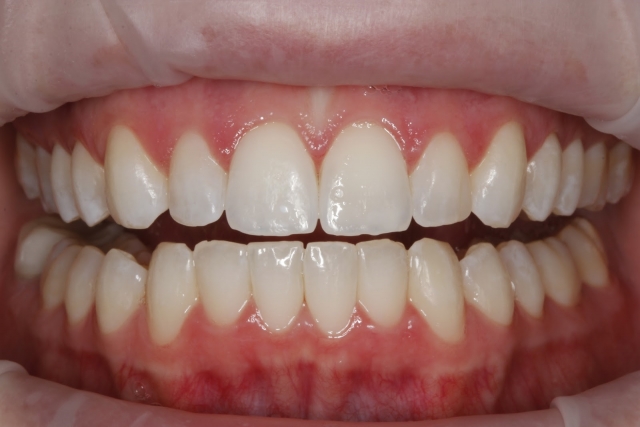
After the resin is complete, finish and polish with the same tools you’d use to smooth and finish a typical anterior composite.
This should be a fantastic new treatment to implement in your practice if you aren’t already using it. The typical cost of this treatment seems to run around the price of a single surface composite on one tooth, and you can determine a “case fee” depending on how many teeth are involved.
The total treatment is only around 15 minutes for two teeth in my office, and we book 30 minutes start-to-finish for the patient. You can order the product through your regular supply rep, and it’s very inexpensive for how many teeth can be treated with one kit. Happy white spot removal!
SPEAR NAVIGATOR
Transform how your practice runs by engaging the team through
coaching and training
A guided path to excellence through structured coaching and self-guided resources that will align your team, streamline processes and drive growth. Transform your practice by implementing Spear’s proven playbooks for developing and retaining a high-performing dental team.
SPEAR STUDY CLUB
Join a Club and Unite with
Like-Minded Peers
In virtual meetings or in-person, Study Club encourages collaboration on exclusive, real-world cases supported by curriculum from the industry leader in dental CE. Find the club closest to you today!
SPEAR ONLINE
Team Training to Empower Every Role
Spear Online encourages team alignment with role-specific CE video lessons and other resources that enable office managers, assistants and everyone in your practice to understand how they contribute to better patient care.
SPEAR campus
Hands-On Learning in Spear Workshops
With enhanced safety and sterilization measures in place, the Spear Campus is now reopened for hands-on clinical CE workshops. As you consider a trip to Scottsdale, please visit our campus page for more details, including information on instructors, CE curricula and dates that will work for your schedule.
VIRTUAL SEMINARS
The Campus CE Experience
– Online, Anywhere
Spear Virtual Seminars give you versatility to refine your clinical skills following the same lessons that you would at the Spear Campus in Scottsdale — but from anywhere, as a safe online alternative to large-attendance campus events. Ask an advisor how your practice can take advantage of this new CE option.
FOUNDATIONS MEMBERSHIP
New Dentist?
This Program Is Just for You!
Spear’s Foundations membership is specifically for dentists in their first 0–5 years of practice. For less than you charge for one crown, get a full year of training that applies to your daily work, including guidance from trusted faculty and support from a community of peers — all for only $599 a year.

By: Courtney Lavigne
Date: July 28, 2017
Featured Digest articles
Insights and advice from Spear Faculty and industry experts
