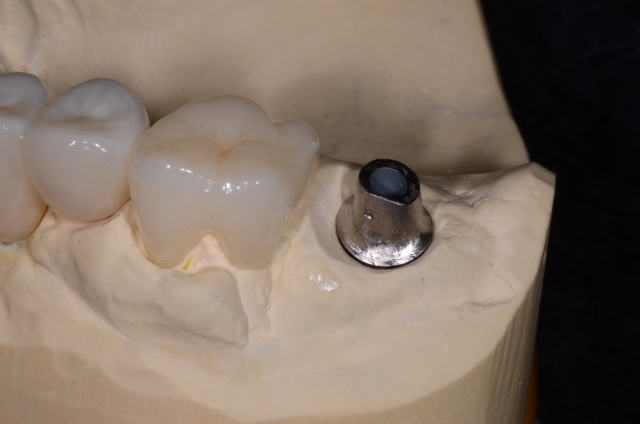
We all know stock abutments are “easy,” yet we also know using them can mean some significant compromises. Perhaps the two biggest compromises come from getting ideal esthetics and ideal margin placement.
So what’s the downside to custom abutments? For me and my ceramist, there are two that always pop to our mind. The first is “time.” For example, if we use a third party to make the custom abutment, it means we are waiting on someone else so we can get our work done.
The second and perhaps more important downside is that we now have more hands in the pot. Of course, this can be no big deal to many people, but if you’re a control freak like both me and my ceramist, then it can increase your stress level a bit.
If you’re sticking with using stock abutments, here are three quick and easy ways you can use them without compromise in nearly every case.
1. Add porcelain to your stock abutment
One option is to add porcelain to the titanium abutment. This can be done to some or all of the abutment. The biggest downside is that this process is labor intensive and takes significant time and skill. Another big downside is that your lab must have porcelain that they can add to titanium, which means they may need to buy.

2. Press to a stock abutment
Perhaps the easiest thing to do is to have your lab press an e.max coping to a stock abutment as you see here. The great thing about this option is that as long as your lab is doing pressed e.max, they have pretty much everything they need to do this. Once they have pressed the e.max piece, they simply bond it to the titanium abutment. The end result is very similar to the Ti Base system by Sirona and the Variobase system by Straumann for CEREC. While both of the above methods are great, pressing to a stock abutment means you can have a taller chimney inside the pressed piece. This of course can provide more retention and strength than the options for CEREC. That being said, the systems like Sirona and Straumann's allow you to mill rather than press, which means you can use zirconia rather e.max if you prefer that for your given case.

3. Screwmentable crowns
This is really an off-shoot of option No. 2 above. The key difference here from option No. 2 is that rather than pressing or milling just an abutment piece, you simply mill or press a full crown with an access hole. It’s up to you if you cement the crown to the abutment prior to try in or after try in; the end result either way is really nice screw-retained crown. The biggest downsides of this method are, of course, filling the access hole while meeting the esthetic demands of the case and the fact that once you have bonded the crown to the abutment you cannot re-fire the restoration.


(Click this link for more articles by Dr. John Carson.)
John R. Carson, D.D.S., P.C., Spear Visiting Faculty and Contributing Author - www.johncarsondds.com