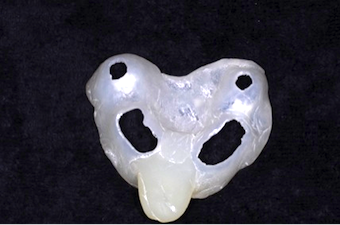
 In Part I of this series I discussed how "guide cones" can help with open tray implant impressions. In this article I'll discuss forming your tray and taking an impression.
When it comes to forming custom trays my two favorite methods to use are to hand form the tray using a light cure tray material like Triad Trans Sheet discussed in Part I, or thermo-forming material in either a vacuum former or MiniSTAR. With either of these methods it's important to know you will need a material to act as a separator between the tray material and your model.
When using the Triad Trans Sheet method my separator of choice is aluminum foil. Simply take a sheet foil and press it over your model as pictured above.
The foil serves to prevent your tray material from bonding to the guide cones and provides room for impression material. When it comes to thermo-forming materials I most commonly use a damp foam spacer, which serves the same purpose as the foil when using light cure materials.
The next step is to actually form your tray. When using light cure materials it's as simple as laying the material over your model and then gently adapting the material to your model. One huge advantage of using light cure materials is that during the forming process you can shape and form the edges of your tray prior to setting the material, which means you'll have very little cutting or trimming of the tray once the material is set. The advantage when using vacuum or pressure forming is that material is formed by being sucked or pressed over the model so the forming is automatic and accurate. The downside to this process is you'll have excess material beyond your desired tray edge that you'll have to cut and trim away.
Once formed, the completion of the tray is as simple as finishing the edges and cutting through the top of the guide cones.


Now that your tray is ready to take to the mouth, simply place your transfers on the implants in the mouth then try your tray in to verify it seats as expected. Also, if needed, make any slight modifications to edges or your guide holes. Once this is done paint the tray with the appropriate adhesive and take your impression. Make certain to find and clear all the heads of the transfers once your tray is seated.


John R. Carson, DDS, PC, Spear Visiting Faculty. [ www.johnrcarsondds.com ]
Comments
March 10th, 2014
March 10th, 2014
March 11th, 2014
March 11th, 2014
March 12th, 2014