Dental Impression Problems: Why You Get Them and How to Avoid Them
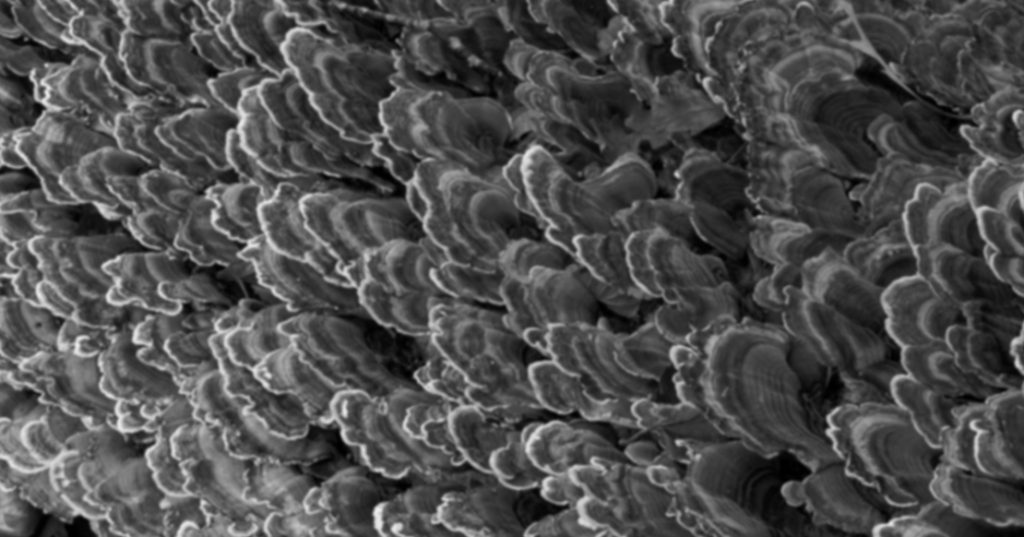
A while back, my lab called to tell me that my models didn’t look right. He sent over some images, and the models looked like they had some kind of scaly disease (Fig. 1). My impression material for this model was vinyl polysiloxane, which I had used consistently for several years, never having this happen before.
I had the patient return, removed the provisionals, and redid the impression. The new model was fine, so I assumed it was a bad batch of impression material.
When VPS Impressions Go Wrong
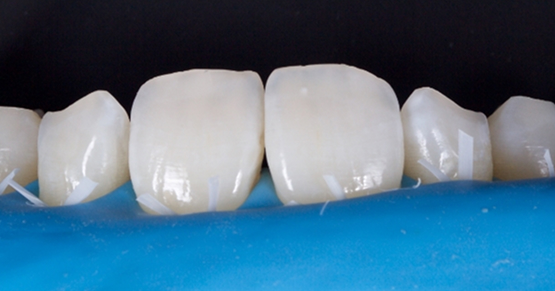
Fast forward to another veneer case shortly afterward. When I pulled the impression from the mouth and examined it under magnification, parts of the material looked unset and pulled from the teeth. You can see the “gooey-ness” in the image below, mainly on the palatal surface (Fig. 2).
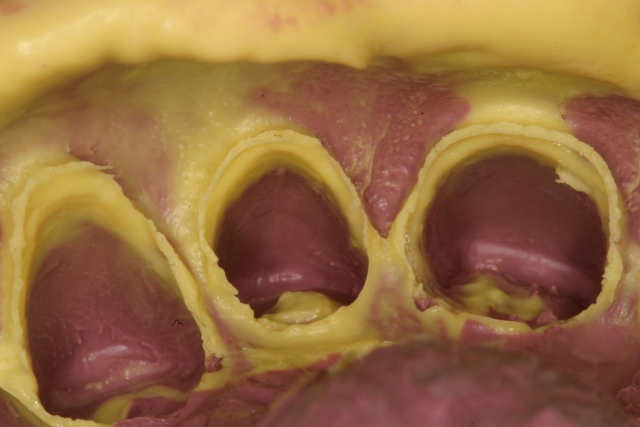
As I reviewed my technique, I realized that the only difference was the timing of fabricating provisionals. In this case, I wanted to measure the thickness of the provisionals as another way to double-check the facial reduction of these veneers. I fabricated them and then took the impression.
That’s when I called the manufacturer and discovered that the provisional material I use, a bis-acrylic, has an air-inhibited layer that can retard the set of vinyl polysiloxane impression materials if it is not completely removed prior to making the impression. The air-inhibited layer was gone at the time of the second impression and I also pumiced the teeth thoroughly to remove the temp adhesive. That is what allowed for a successful second impression.
Simple Steps to Prevent Impression Failures
This is a rather simple problem to solve. It can be handled in two ways:
- Make the provisionals after the final impressions are completed, avoiding contact of the VPS with the air-inhibited layer left behind.
- Fabricate the provisionals first, then:
- Clean the teeth thoroughly with a prep scrub
- Follow the scrub with an additional flour of pumice cleansing with a prophy cup
- Alternatively, air abrade the preps with 50-micron aluminum oxide after the prep scrub
- If the provisionals are made with a retraction cord in place, remove and replace the cord. It can retain enough of the air-inhibited layer to alter the set of the marginal impression material
- Follow with normal impression procedures
PVS set can also be retarded through contamination by latex gloves and glove powder. If you or your assistant must touch the surface of the impression material or if you are mixing a putty for the impression be sure to use nitrile gloves.
PVS appears to be the only material with this issue; polyethers are not affected similarly.

Other VPS Pitfalls to Keep in Mind
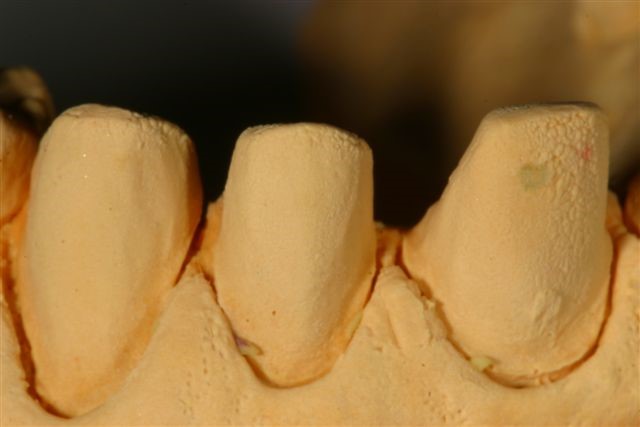
Vinyl polysiloxane impressions may also result in a model with tiny bubbles covering the surface of the impression (Fig. 3). The bubbles are more uniform in size and distinct and separate.
VPS materials need to sit for at least 30 minutes before being poured so that hydrogen can be completely “outgassed” before pouring the impression. Be sure to read the instructions from the manufacturer of your VPS material, since some require a longer outgassing time.
SPEAR campus
Hands-On Learning in Spear Workshops
With enhanced safety and sterilization measures in place, the Spear Campus is now reopened for hands-on clinical CE workshops. As you consider a trip to Scottsdale, please visit our campus page for more details, including information on instructors, CE curricula and dates that will work for your schedule.

By: Steve Ratcliff
Date: January 11, 2018
Featured Digest articles
Insights and advice from Spear Faculty and industry experts
