Dental Photography 101
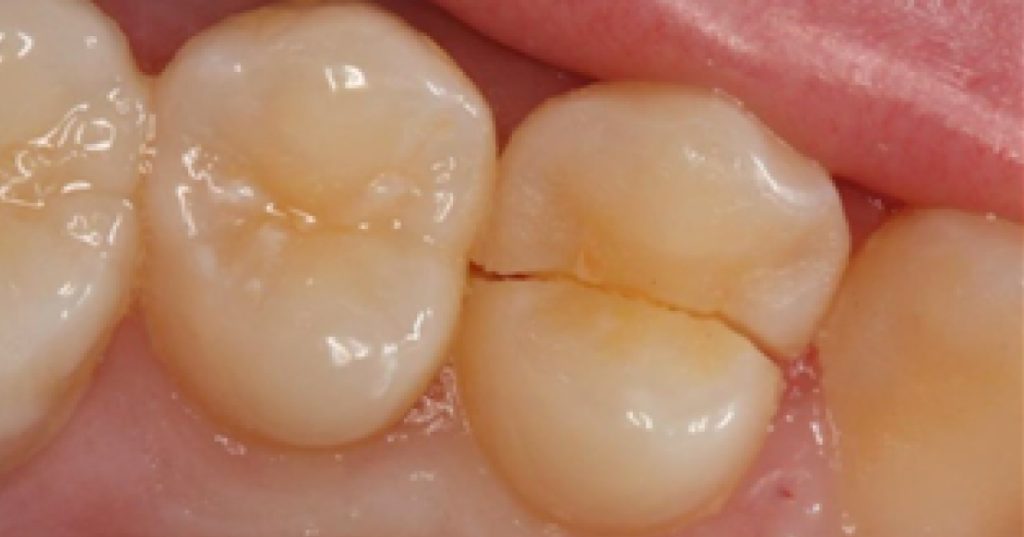
Dental photography is crucial in Facially Generated Treatment Planning. Proper equipment and camera settings are required to ensure that photos aid co-discovery and case presentations.
The process of producing a photo involves creating an “exposure.” When light passes through the camera lens, it hits a sensor within the camera. The exposure of light onto the sensor creates the image that we see. Different iterations of equipment and settings affect how much light hits the sensor, which in turn affects the image that is obtained. It’s essential to have the proper camera components and settings for adequate exposure for clinical dental photography.
Dental Photography Camera Components
The basic set up for clinical photography consists of a camera body, macro lens, ring flash, and SD memory card.
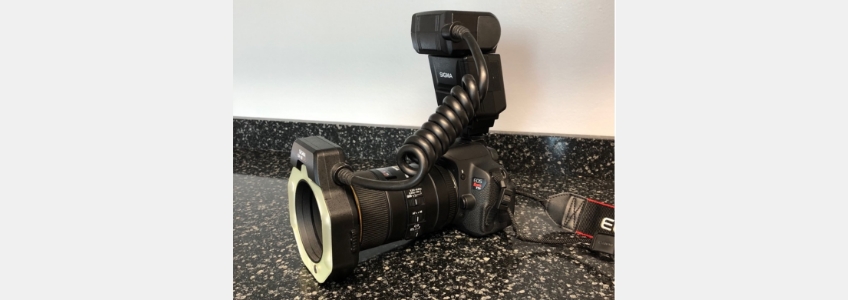
The camera body is the main component in the camera setup. It contains the viewfinder, mirror, shutter, and image sensor. In essence, a camera body is a lightproof box. When the shutter opens, light hits the sensor, resulting in an exposure. The camera body is also the element where the settings can be adjusted to control how much light is exposed to the sensor.
A macro lens is necessary for dental photography in addition to a camera body. This special lens is designed to focus on objects positioned in close proximity (typically within one foot) of the lens. Because we are so close to our patients when taking clinical photographs, a macro lens is ideal for producing sharp, crisp, and in-focus intraoral images.

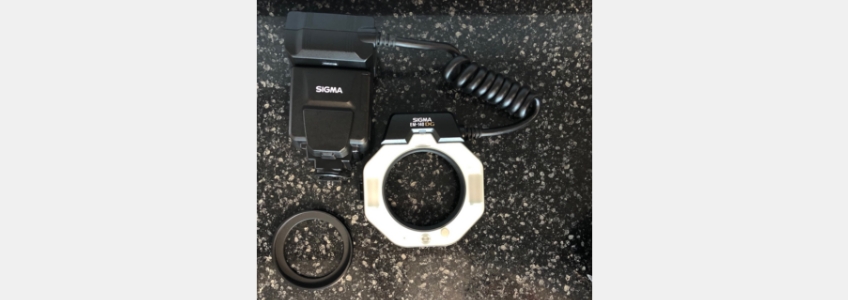
A ring flash is a uniquely designed flash system that attaches to the lens’s front. This creates additional lighting close to the subject. A ring flash is beneficial for dental clinical photography because it produces the lighting necessary to illuminate the oral cavity. An adapter is often necessary to connect the ring flash to the lens.
Finally, an SD card is used to store images that are taken. The SD card is analogous to film in analog photography. When an exposure occurs, the data is recorded on the SD card. This data is stored as a digital image that can now be used to view the resulting photograph.

The Three Fundamental Camera Settings
Once the camera components have been assembled, three basic camera settings are to be considered: ISO, shutter speed, and aperture.
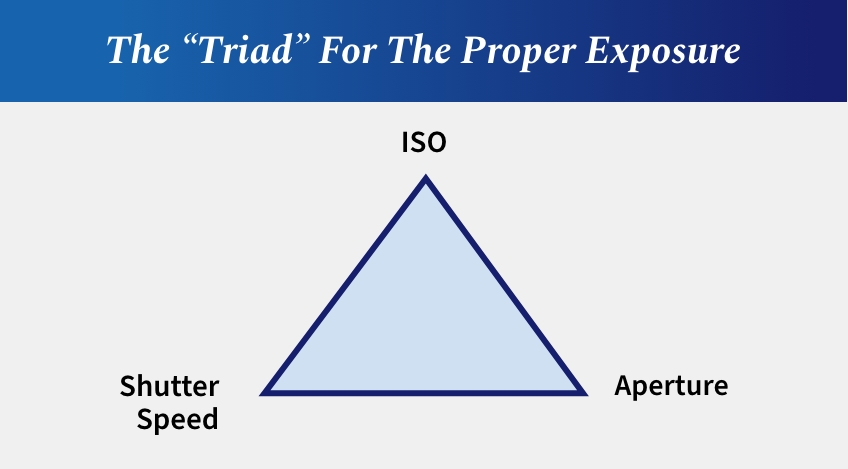
The ISO is analogous to film speed with traditional film cameras. Historically, film with a higher ISO value was considered more beneficial for low-light environments. With digital cameras, the ISO can also be adjusted for dark or bright environments to help adequately expose an image.
The shutter speed is the second setting that plays a role in dental photography. It dictates how long the camera’s shutter stays open when an exposure occurs. The longer the shutter is open, the more light will be captured on the camera’s sensor. If a shutter speed is too short, the image will be “underexposed” and appear dark. If a shutter speed is too long, the image will be “overexposed” and too bright.

The aperture is the third setting essential to consider in dental photography. The aperture is a hole or diaphragm in the lens that controls how much light passes through the lens and hits the sensor. The size of the aperture opening in the lens is recorded as the “f-stop.” This dictates how wide or narrow the diaphragm is in the lens. The more open the aperture, the more light passes through. The aperture is recorded inversely. For example, an f-stop of f/4 is a larger diameter opening than an f-stop of f/22.
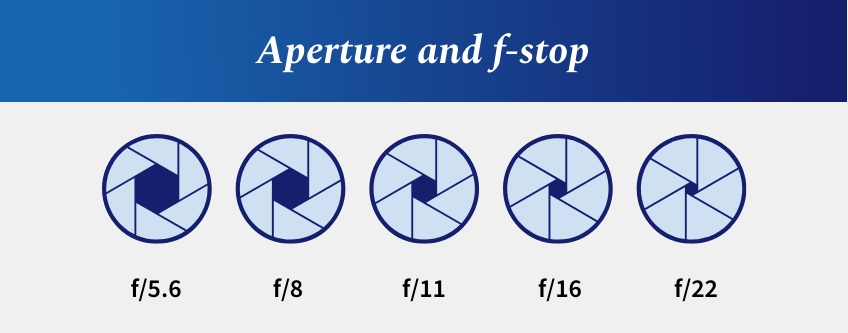
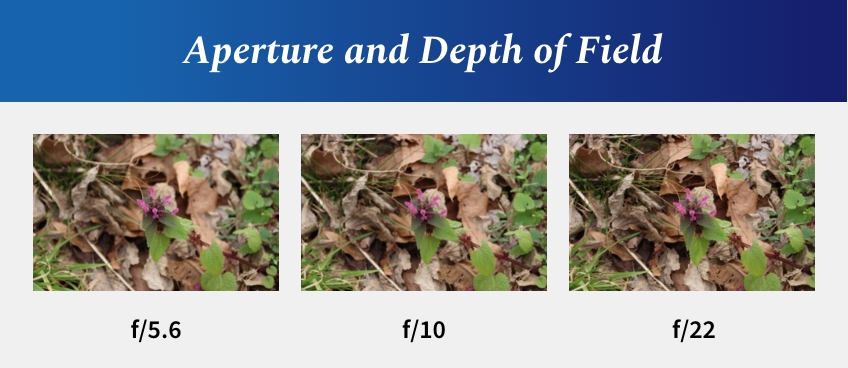
In controlling the amount of light that hits the sensor, the aperture also plays a role in the “depth of field.” The depth of field refers to how much of the image is in focus. A larger aperture (such as an f/4) will have a much shallower depth of field than a smaller aperture (such as an f/22). Larger apertures tend to be used in portrait photography, whereas smaller apertures are more commonly used in landscape photography.
Dental Photography Camera Settings
Knowing that there are multiple settings for ISO, shutter speed, and aperture, which are the most appropriate for dental photography?
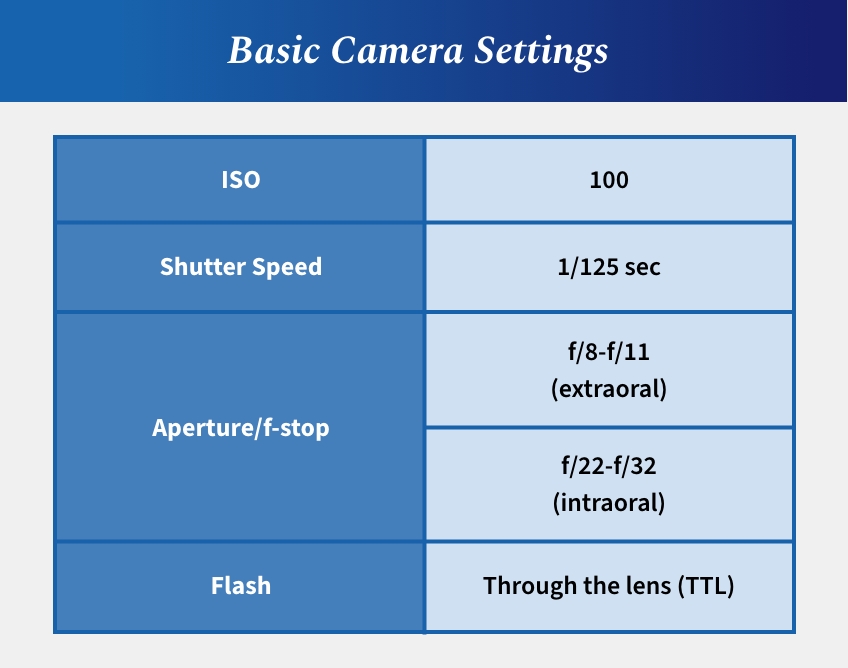
Typically, an ISO of 100 is considered the ideal setting for dental photography. The ideal shutter speed is 1/125 sec. The aperture will vary depending on whether extraoral or intraoral photos are taken. An f-stop of f/8 to f/11 works well for extraoral photos, whereas an f-stop of f/22 to f/32 provides the best depth of field for intraoral photos.
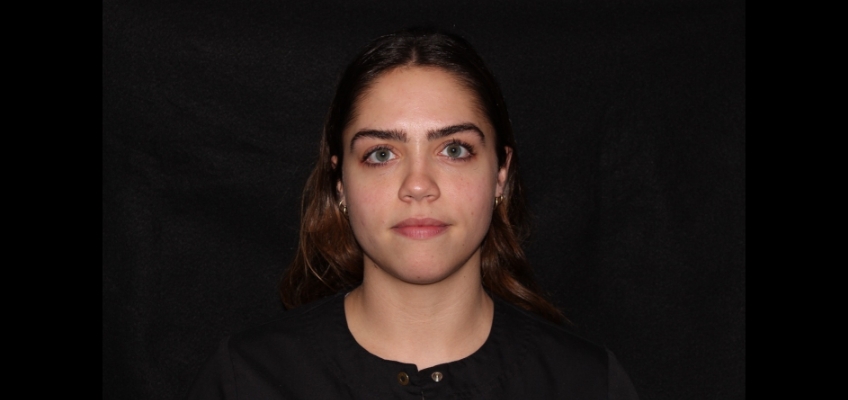
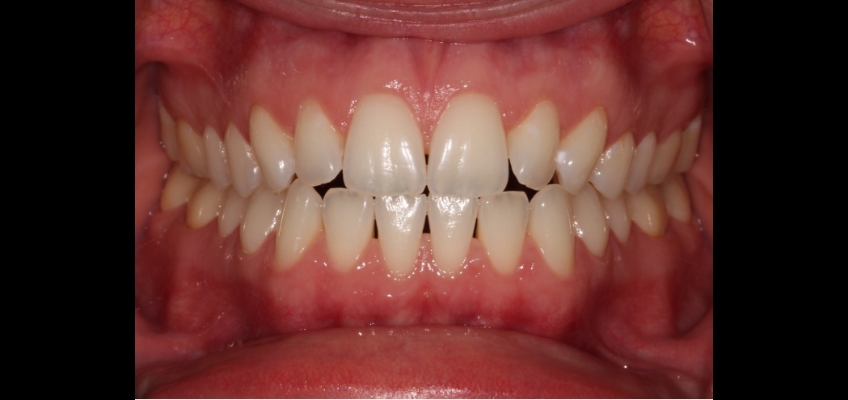
Finally, for the ring flash, a “through-the-lens” setting is ideal for dental photography. This will commonly be represented as a “TTL” or “ETTL” setting on the camera flash. A through-the-lens setting enables the camera to auto-adjust the flash to minimize the risk of overexposing or underexposing an image.
In future articles, we will explore patient positioning and troubleshooting for clinical dental photography.
SPEAR campus
Hands-On Learning in Spear Workshops
With enhanced safety and sterilization measures in place, the Spear Campus is now reopened for hands-on clinical CE workshops. As you consider a trip to Scottsdale, please visit our campus page for more details, including information on instructors, CE curricula and dates that will work for your schedule.

By: Andy Janiga
Date: March 21, 2023
Featured Digest articles
Insights and advice from Spear Faculty and industry experts

